EDIT: Creating a WLM 2009 server seems to have been broken by a recent commit to the WLM 2009 branch. If you still have an old copy of the branch, keep it. It just seems that this thread was made at the wrong time.
I initially said I wanted to do this in the form of a YouTube video but since my PC died I can’t do that, so this will be a thread instead.
This tutorial is using the Windows Command Prompt. Running it on MSYS2 or an actual distribution of Linux is beyond what I can do
You will need:
- Python 3.6 or higher
- Visual Studio 2015 or higher
First you download the latest version of Python 3 and install it, and make sure that “Add Python to PATH” is enabled. Python is located at http://www.python.org/. If you do not have Visual Studio, you will also need to install it as some modules will fail to install without it.
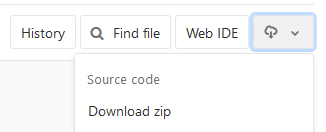
Now you download the source. The source is located at Files · feature/wlm2009 · Escargot / Escargot Server · GitLab.

Extract the zip somewhere, preferrably the Documents folder. Then you’ll need to add a system variable named PYTHONPATH set to the folder the source code is located. For example:

Now we do some Python stuff. Open a Command Prompt window and CD it to the source folder, then run python -m pip install -r requirements.txt which will install the modules the server depends on. Then install pycryptodome by running python -m pip install pycryptodome.
EDIT: If you are getting errors compiling HLL, you will need the Visual C++ Build Tools.
https://www.microsoft.com/en-us/download/details.aspx?id=48159
You need a settings_local.py file with the following contents:
DEBUG = True
DEBUG_MSNP = True
DEBUG_HTTP_REQUEST = True
Now run python script/dbcreate.py to create user databases. If you get an error for the db module missing, install it. Next run python script/dummydata.py. If the script hangs for more than 10 seconds, send interrupt (Ctrl+C).
Then you run python script/user.py {email} {password} to create users. You can create more users if you intend on chatting over LAN/with yourself (if you have MSN Polygamy).
You should be done with the Python stuff, and now you can install WLM 2009. Download the Windows Live Messenger 14 (http://messenger.jonathankay.com/redir/w3rc/wlm.asp) and Windows Live Communications Platform (http://messenger.jonathankay.com/redir/w3rc/contacts.asp) packages and install them, then close WLM temporarily.
Then go into the HOSTS file (located in C:\Windows\System32\drivers\etc) and edit it to include these lines:
127.0.0.1 m1.escargot.log1p.xyz
127.0.0.1 messenger.hotmail.com
127.0.0.1 login.live.com
127.0.0.1 gateway.messenger.hotmail.com
127.0.0.1 byrdr.omega.contacts.msn.com
127.0.0.1 config.messenger.msn.com
127.0.0.1 tkrdr.storage.msn.com
127.0.0.1 ows.messenger.msn.com
127.0.0.1 rsi.hotmail.co
Keep in mind that you will want to remove 127.0.0.1 login.live.com from the HOSTS file after testing if you want to use any official Microsoft services.
Save your changes and close it.
You can now run python dev through the command line to run the server. It will generate a certificate and you will have to install it to the Trusted Root Certificate Authority. Then run the command again and the server should be running.
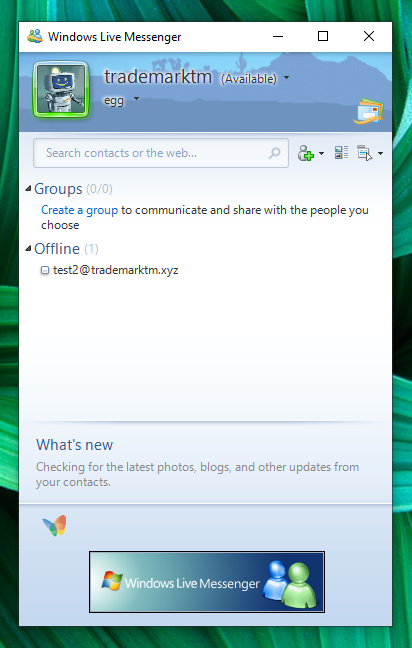
Open WLM 2009 and attempt logging in to (one of) the test account(s) you created. If you logged in with no issues, your server works!
Also to clarify that port forwarding your server IIRC doesn’t work and only runs on LAN. You can only use another computer, use MSN Polygamy to use multiple WLM windows, or use a tunneling software like Hamachi.
If you have issues, let me know.
Enjoy!


