Ok so here is the a tutorial for those who do not understand the Microsoft tutorial at this link this is a tutorial about how to get windows live mail working on the new mail server. it’s quite nice but we have no calendar to sync with it. so sorry everyone. Maybe at a later date we can work on this to bring in the calendar. ![]()
(I can’t make a video. i’m running on a virtual Machine to run windows and will be too laggy for it!)
To get Windows Live Mail working on the new server:
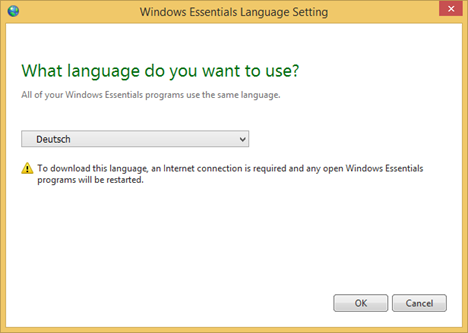
(if you don’t already have Windows Live Mail installed on your system, here is the link for the offline installer)
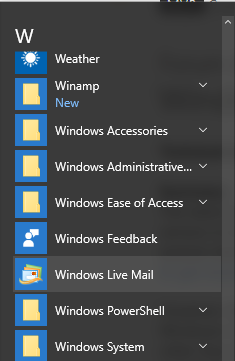
Start Windows Live Mail from your start menu
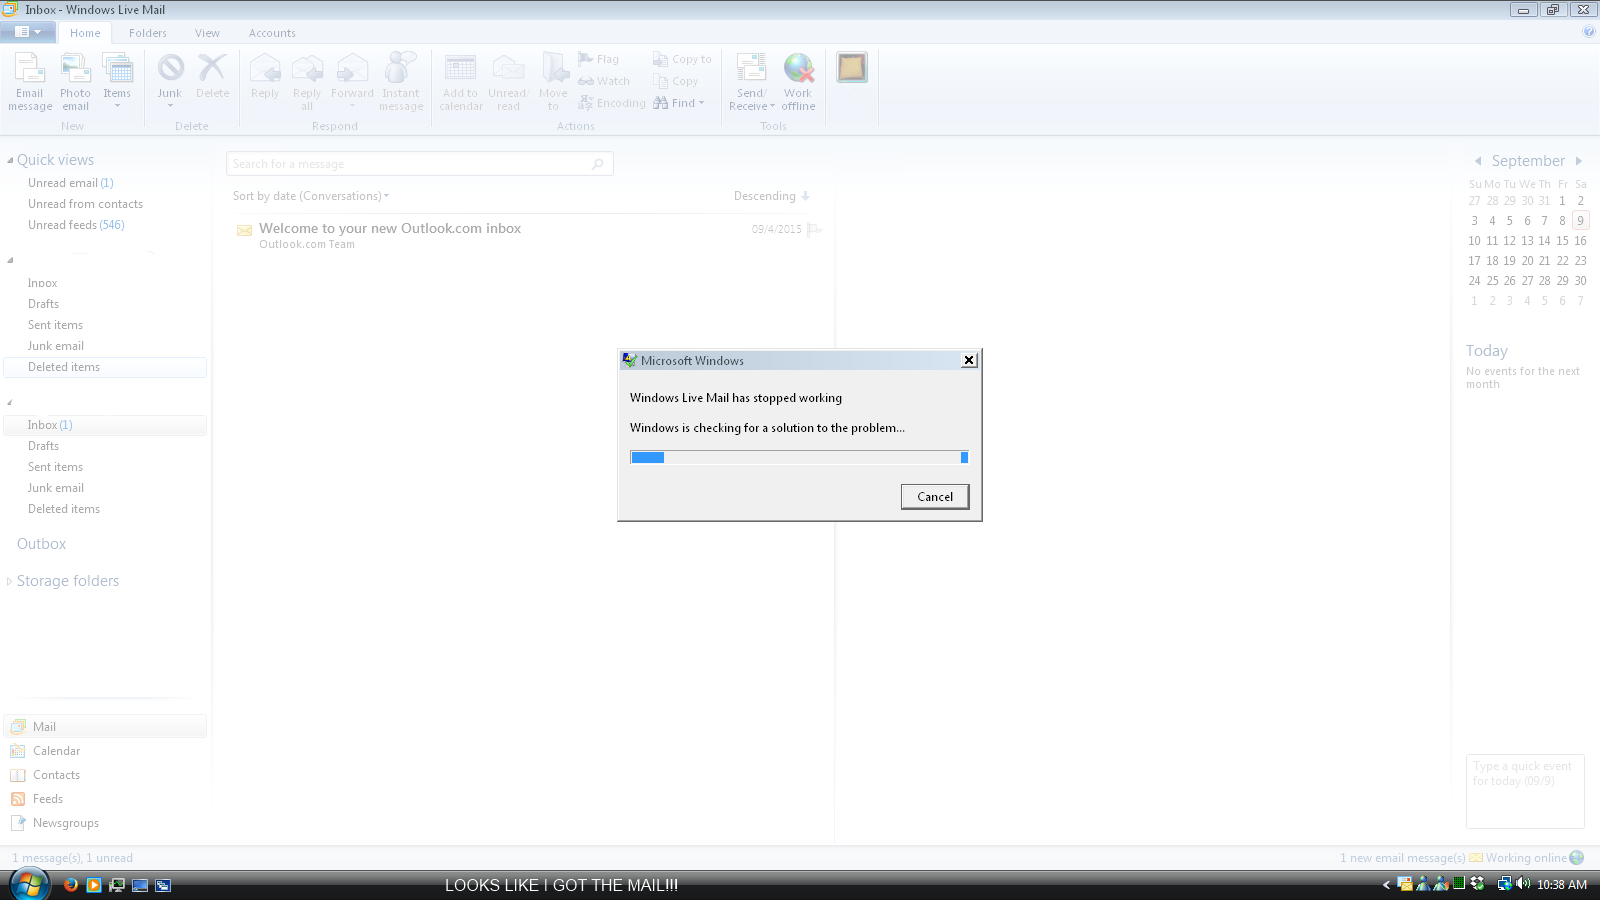
when you start Windows Live Mail you may see this error "“server error 3219”, “error 0x8DE00005”, “updating the calendar”, “Outlook Email” if you have previously had this installed and was unable to use it during the msn server shut down period. You May also encounter this message below:
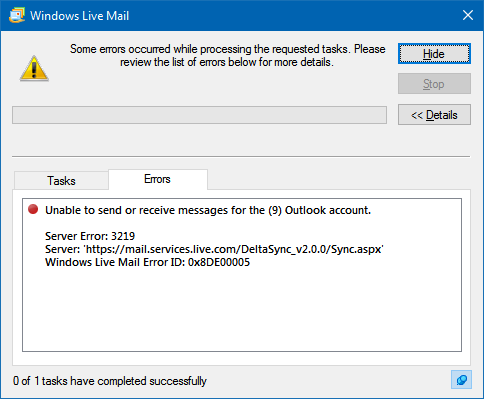
so to take away that message before it disrupts your new setup. start by Deactivating your Windows Live Mail account setup from inside the Windows Live Mail program. a quoted message from the Microsoft tutorial is below.
A. Deactivate the old account
This account will no longer work, new messages will not be downloaded and there will be no synchronization of other folders. For the time being, then, right-click on the account name in the folder pane and select Properties. On the General tab, deselect Include this account when receiving mail or synchronizing, then click Apply and OK. This will ensure that the account folders will remain intact with their contents during the transition.
Go into File >> Options >> Email Accounts (picture is below):

This will bring up a dialog box with your Windows Live Mail Email setup inside of it. like this:
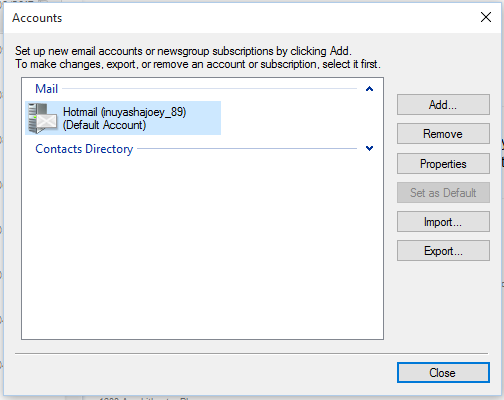
then click on your account from the previous setup and at the right of the box click on remove. it will remove your previous account setup. Now click close at the bottom of the box.
on your keyboard press Ctrl-Shift-T which will bring up the new accounts wizard. when you first install the Windows Live Mail program and open it for the first time on your computer it will give you this wizard to use. (picture is below):
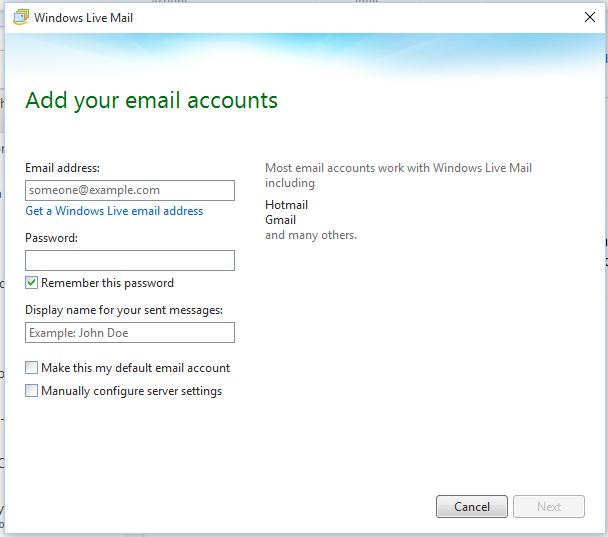
Start a new account by typing in your Hotmail,outlook,live or msn email address (@msn.com, @hotmail.com, @Live.com, @outlook.com) then type in your email password as you would normally for the email website at outlook.com and type in your name but don’t press next. Click on the option with the words “Manually configure server settings” and then click on next.
On the next screen it gives you click on the drop down menu for the type inbox. Like iMAP. (picture is below):
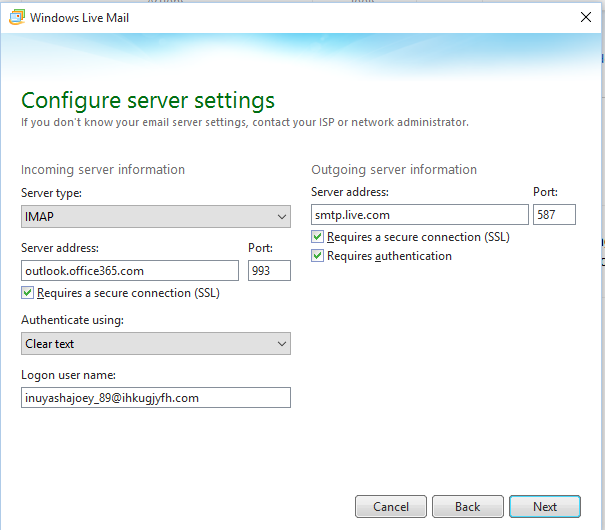
Like in the picture above type in the server for incoming mail “outlook.office365.com” and set the port to “993”. click on "Requires a secure connection (SSL) under that. if Authentication is set to something different set it to “Clear text”, type in your email address in the Logon username box.
Now for the outgoing server type in “smtp.live.com” and set the port to “587” and click on both "Requires a secure connection (SSL) and Requires Authentication under the outgoing server settings box then click on next. it will tell you that your account was seccessfully added to Windows Live Mail and click finish at the bottom of the box. it should then start syncing only your email from “outlook.office365.com”.
If the program successfully downloads the account folders, right-click on the new account name in the folder pane and select Properties. On the IMAP tab,
Select Check for new messages in all folders and Store special folders on IMAP server;
Enter the following paths (carefully - if they are not exactly as shown, it may not work):
Sent Items path: Sent
Drafts path: Drafts
Deleted Items path: Deleted
Junk path: Junk
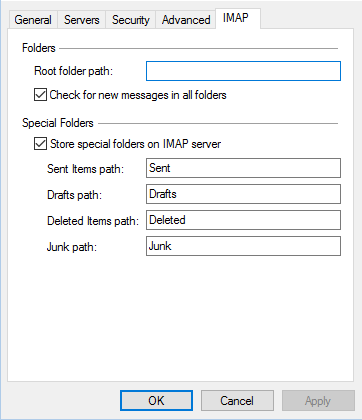
Click Apply and OK. If you’re invited to reset the folder list, decline.
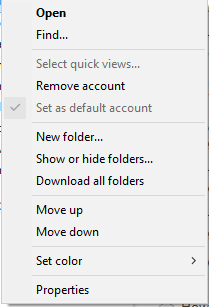
Right-click on the new account name in the folder pane and select Show or hide folders. The Show/Hide IMAP folders dialogue opens:
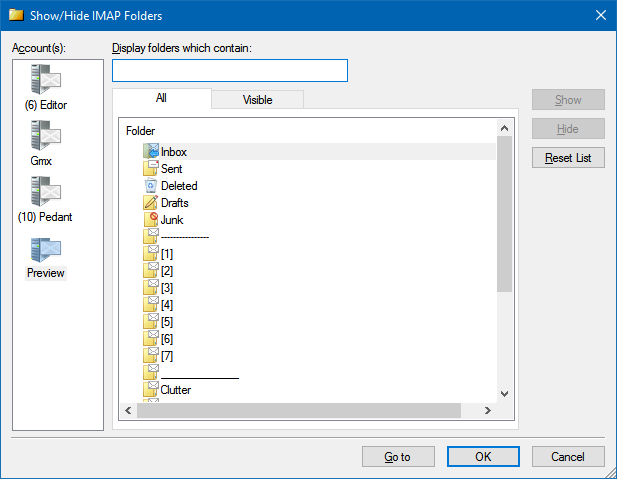
Click the Reset List button to refresh the folder list from the server.
On the All tab, use the Show and Hide buttons to indicate which folders you want to see in the folder pane.
There may be a number of contacts folders - Hide them, because they don’t contain anything meaningful in the mail window. It’s also wise to Hide any other folders, like Outbox, that weren’t there before. There should be only one folder for each of sent items, junk email and deleted items.
Click OK.
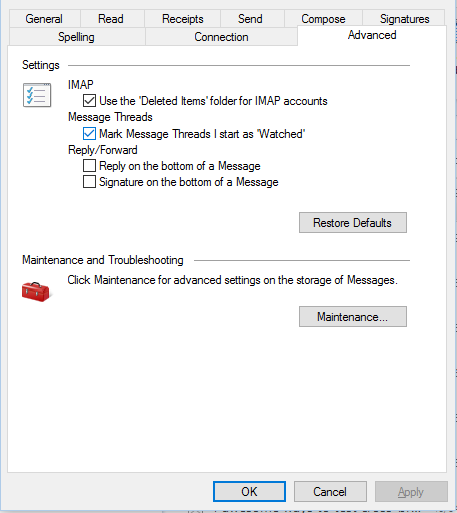
While viewing the message list, press Ctrl-Shift-O for Options. On the Advanced tab, select Use the ‘Deleted Items’ folder for IMAP accounts.
You can right-click on an IMAP folder in the folder pane and select Synchronization options. You may wish to experiment with these; for the time being, mine are all on All messages. If you select Headers only, the message body will be downloaded for display each time you select the message in the message list to read it. It will not be stored on your computer.
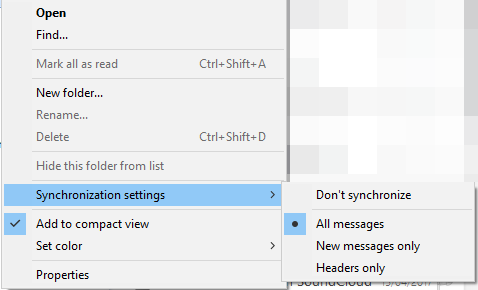
This is your choice!

 But when i install it, ( because i don’t have Windows Live Mail already installed on my pc ) i’m forced to update msn messenger to Windows live messenger… And i can’t do anything ! So before clic on install, i just wanna know if have a way to shoot off msn update