Hello.
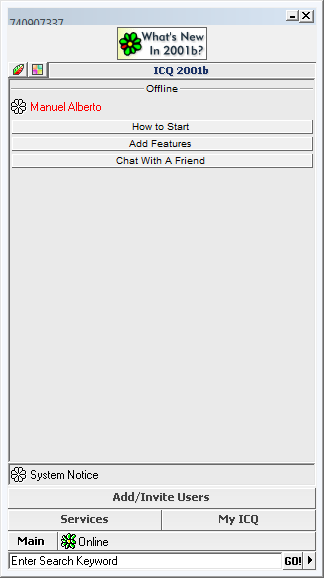
If you’re not aware, there are older versions of ICQ that still work. 2001b and up, to be exact. And the fact that ICQ still offers UINs makes it all the more possible for users old and new.
If you don’t have an ICQ account with a password set up on it or if you don’t have one at all, here’s how to get started:
Step 1: Go to www.icq.com and register an account as per usual (that does mean registering with your phone number, which isn’t escapable at this point). Registered users can skip this part.
Step 2: Set up your basic details, like your first name and last name (you’d be forced to fill them out during the registration process, so they’d already be set up, but you can change or remove them at any time), nickname, etc., if you want.
Step 3: If you don’t have a password set up on your ICQ and if you’ve just registered, this a key player - Wait exactly 24 hours since the day you registered on ICQ.
Why?
If you want to log in onto the older versions of the ICQ client, you have to have a password set up on your account. And since the ICQ site doesn’t even offer that option anymore during registration, you have to seek the password recovery service. But here’s yet another caveat - if you have had your ICQ account for less that 24+ hours, ICQ will refuse to let you reset your password unless the criteria has been met. This leaves you no other choice but to leave your ICQ account for 24+ hours until you can technically set a password on it.
Step 3.5: Once the criteria has been met, go back to the password recovery page without being logged in and follow the instructions on the page to set your new password. To be compliant with the old ICQ client, make sure the password is 8 characters or less.
Step 4 (Optional): If you don’t want to actually reset your password by getting a SMS code every time or if you want people to find you via e-mail, log in with either your UIN and password or phone number at icq.com, go to your profile by clicking on your name at the top of the page, and click on “My Profile”, where you’ll be able to edit your details. In the “Email address” column, click on “Add”, where you’ll have to enter in your ICQ password and your e-mail address in order to link the e-mail address.
Got your account set up? Great! Now let’s get to actually installing ICQ onto your computer:
Step 5: Now that the ICQ account setup has been dealt with, time to actually download your flavour of legacy ICQ client. ![]()
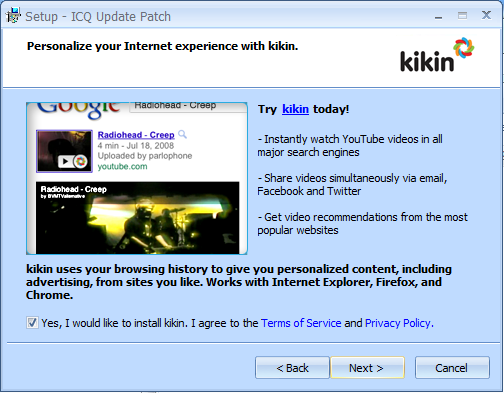
I’d recommend you’d go to oldversion.com for your old application needs, but since its ICQ downloads don’t seem to work, plus the fact that oldapps.com has had its downloads broken for a while, try searching for the legacy client you want to use. The earliest retro version of ICQ that still works with the servers is ICQ 2000a, and the latest retro versions that work are ICQ Pro 2003b and ICQ 5.0. ICQ6.5 and above do work as-is, but 5.1 and 6.0 will only work with the ICQ Update Patcher or else they will display a required auto-update dialog that prevents you from logging in onto those versions of the clients, according to what I’ve heard from @TheSimpsonsSeeker199. Anyways, here’s a copy of ICQ 2001b I downloaded from an archive of the OldApps file download server and stuffed into my Dropbox to get you started (and if you’re really that retro ![]() ):
):
https://www.dropbox.com/s/40i7v134p6ahqgv/ICQ2001b.exe?dl=0
Step 6 (For users using Vista and above): Assuming that you have already installed your flavour of ICQ, if you have ICQ 2001b - ICQ Pro 2003b installed, do the following:
- Press [Windows Key] + R. The Run dialog will open up.
- Type in
C:\Program Files\ICQ(orC:\Program Files (x86)\ICQif you’re using a 64-bit system) into the dialog and press Enter. - An Explorer window located inside ICQ’s program folder should appear. Locate the ICQ executable (the one with the flower icon), right-click on it, and select “Properties”.
- In the properties window, select the “Compatibility” tab, select “Change settings for all users”, and in the resulting window, check “Run this program as an Administrator” under the “Privilege Level” column, and press OK.
The reason you have to do this starting in Vista and above is because if ICQ is run as-is, it will immediately quit itself after launch.
Step 7: Launch ICQ, login as normal, and you should be connected and be able to talk to your contacts. ![]()
Thanks for reading this, and enjoy your future ICQ endeavors. ![]()
Also, if anyone’s willing to add me, my UIN is 740907337. ![]()


