Another one of my useless posts. This time, i’ll show you how to set up a Longhorn VM, and how to get it to function the best and look good, aswell as some information about this build:
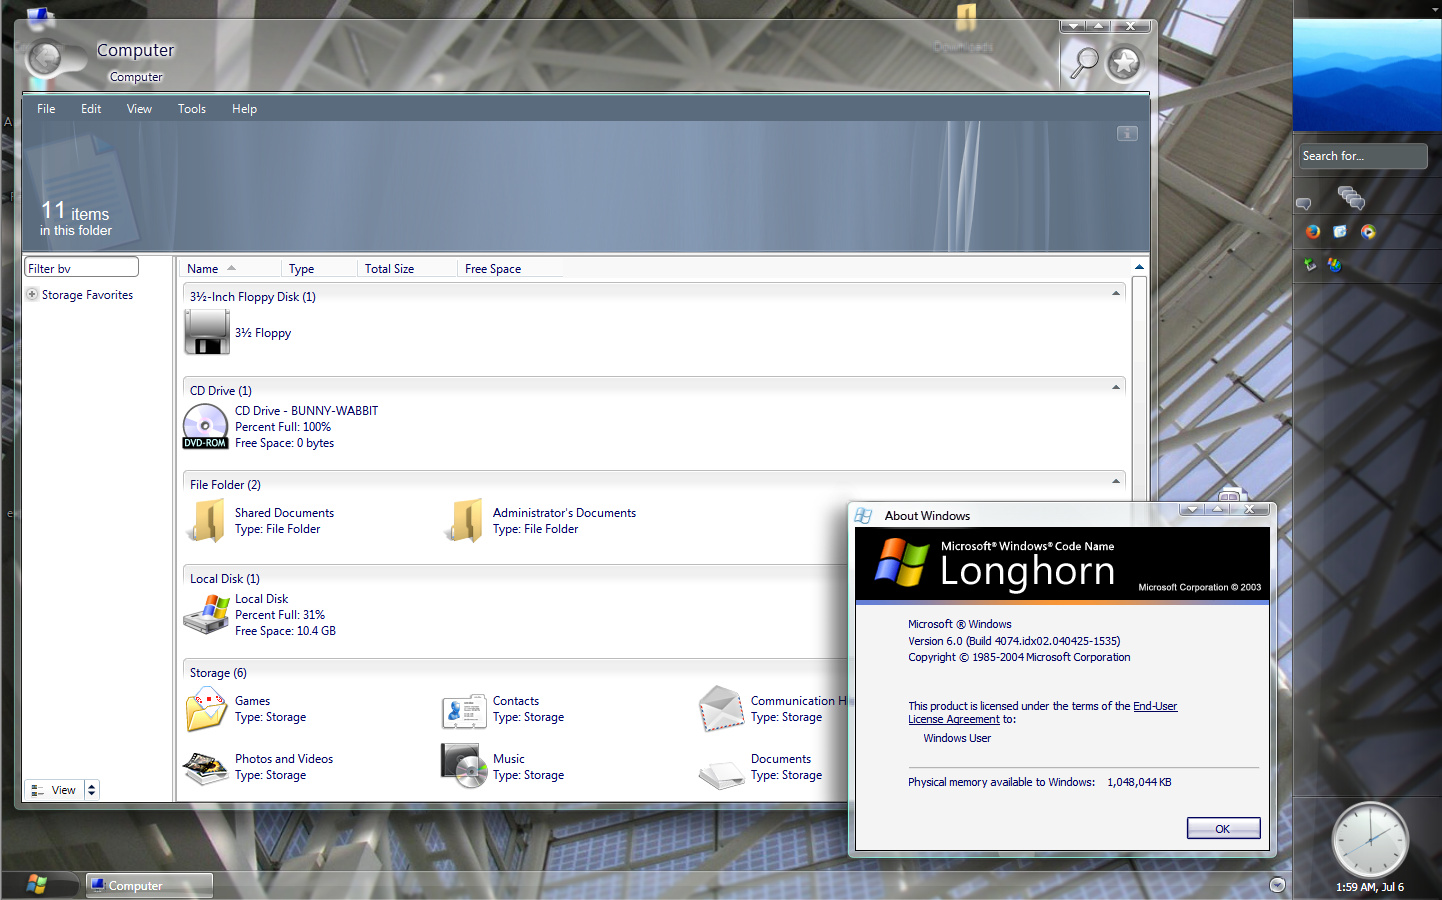
your end result, ideally
I will be using a run-of-the-mill vanilla 4074 iso, no “The Way It Was Meant To Be” or Sigma OS mod, as i believe that’s not the best experience. As such, i’ll be linking all of the resources necessary, except the virtualization software we’ll be using, VMware Workstation (Any version after 6.5.2 will work, ideally, you should use 7.1.4 up to 11, but any recent version will work just fine. Just make sure to use Workstation):
- Utilities (Drivers, Theme files, Timebomb remover, Registry files. Comes into an iso file for easy usage with VMware, as you can’t drag files in.):Longhorn-Utilities.zip (2,7,MB)
- Longhorn install image (x86, 64 bit versions of 4074 do exist but they lack alot of the interesting features): WinWorld: Windows Longhorn (6.0.4074.0) (beta)
Setting up the Virtual Machine
- Select “Custom” after pressing Create a New Virtual Machine:

- Drop down the version selecter and select "Workstation 6.5-7.x

- Point the disc file to your Longhorn ISO downloaded from WinWorldPC:
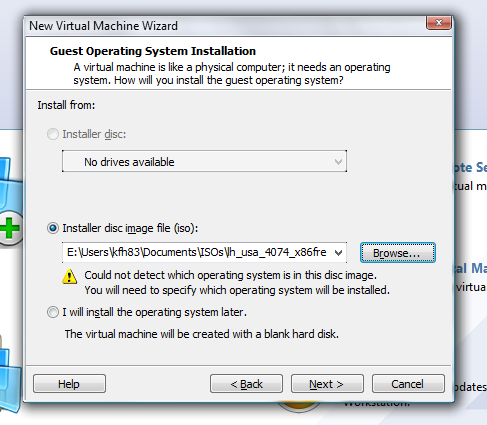
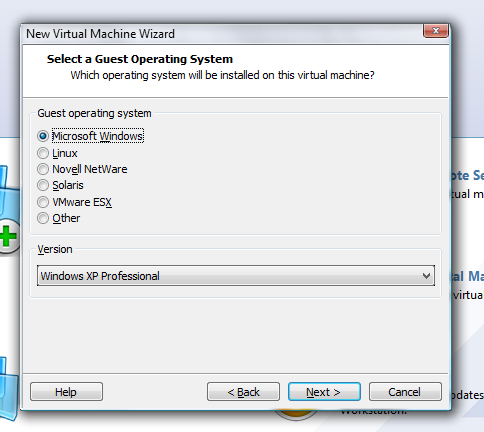
Ignore the error, easy install won’t work anyway - Guest operating system should be Windows XP Professional, as Longhorn does not support WDDM.
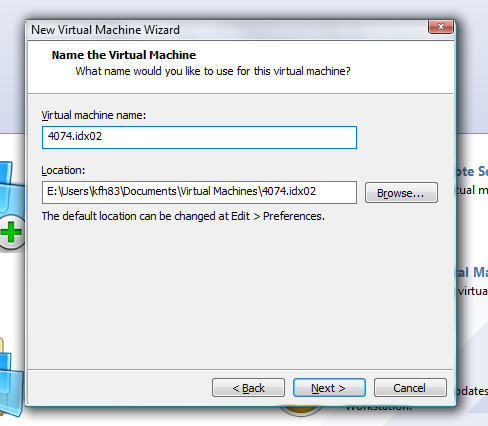
- Name can be anything you want:
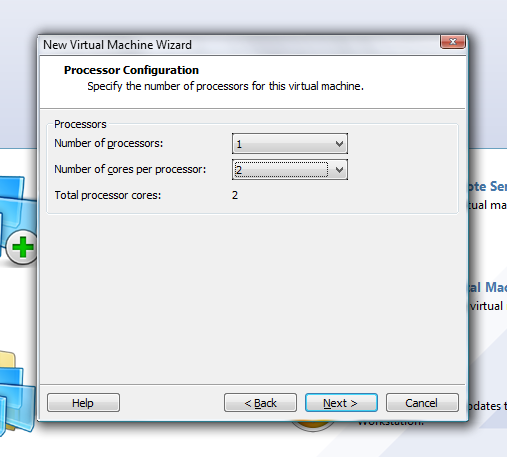
- Set to 2 cores if you have 4 cores, 1 if you have 2, it doesn’t really matter, i keep it at 2:
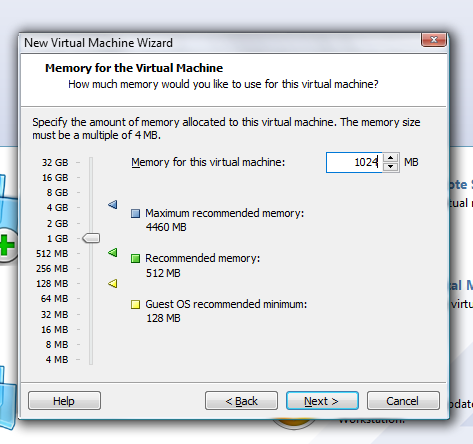
- Give it atleast 1GB of ram:
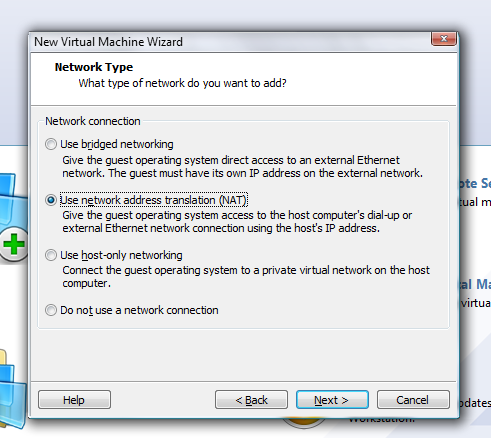
- It doesn’t matter:
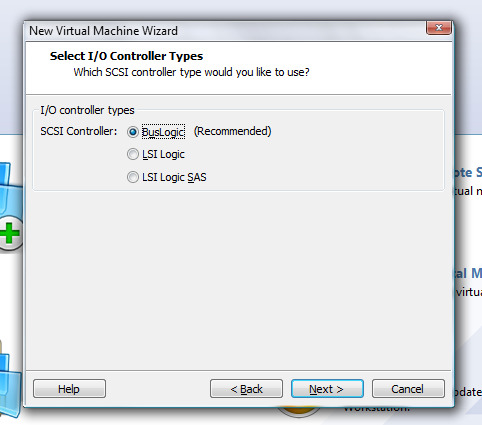
- Keep it buslogic:
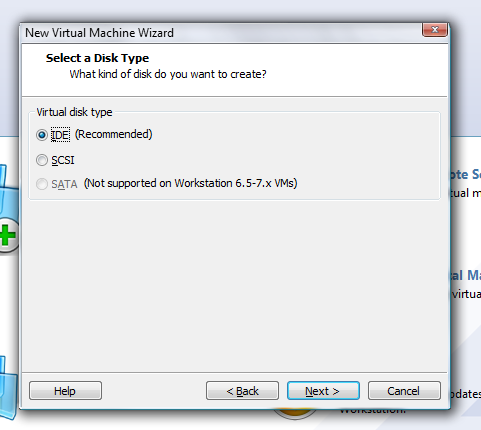
- Keep it IDE, Longhorn does not like SATA at the time of this build:
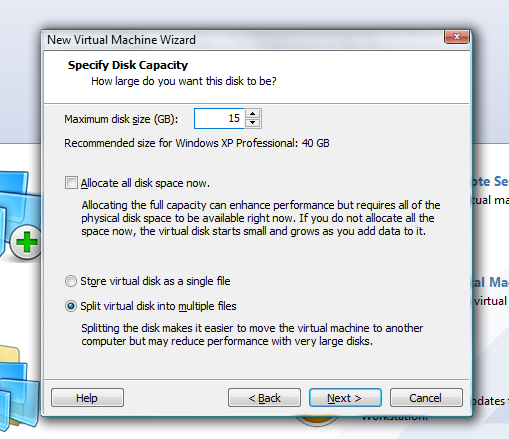
- When creating a disk (yes, i’ve skipped a step), give it 15gb of space as it doesn’t require much space at all, 15gb is still fairly alot for longhorn:
The rest is just clicking next.
Setting up Longhorn
![]()
From this drop down menu, select “Power on to firmware” or “Power on to BIOS”, we’ll need this to change the date of our vm to somewhere in August 2004, as when we’re installing the VM, the timebomb will still be active. Not doing so, will not allow you to log onto the os.
![]()
Press F10 to quit the bios and boot into the installer. It’ll take around 2 to 3 minutes for it to boot up, so be patient.
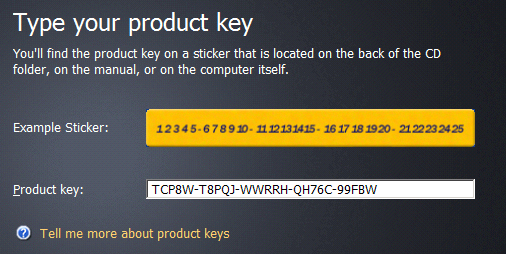
Click continue whenever the first stage of setup appears and type this product key:
Accept the EULA, click next for everything after that and then wait, it’s fairly simple.

The oobe says bullshit. It takes around 15 minutes.
Your desktop after login should look like this:
Since i wasn’t able to finish this topic (has been on hold for like a month) i’ll just paste in quick instruction for what were to be the next steps (no screenshots available):
Plug in the Longhorn-Utilities.iso disc into the VM Find folder "debomber" (In the disc) and open "easy patch". Run the bat file, then return to the root folder and run TweakNT. Click apply and reboot your machine. Back onto the desktop, Go to the Longhorn-Utilities folder and find the SVGA driver folder. Run devmgmt.msc and update the VGA device pointing to the SVGA folder. Reboot your machine once done. Go in the Longhorn-Utilites folder and find the theme. Copy the Aero theme files (both the folder and the .theme) to %systemdrive%\Windows\Resources\Themes, or use the shortcut provided in the same theme folder. Open regedit, go to HKEY_LOCAL_MACHINE\SOFTWARE\Microsoft\Windows\CurrentVersion\Explorer Create a new DWORD and name it "MILExplorer". Give it a value of 1. Log out, log back on. Open the run dialog and type in "c:\Windows\I386\sbctl.exe" start .If done correctly, you'll get the cool new dwm effects. Keep in mind if you restart dwm it'll not load resources from the theme, rather from the DWM DLL itself (desksrv.dll).